
How to Create Etsy Mockups in Bulk Without Photoshop
I ran into the same Etsy POD bottleneck many sellers do: each product needed 8–10 mockups, and every new design meant another round of Photoshop work. Here is the bulk workflow I use now
When I first started making Etsy print-on-demand listings, I used Photoshop Smart Objects. The workflow worked, but every product meant opening PSD files, replacing the artwork, exporting the images, and doing the same thing again for the next mockup. I also tried Placeit and a few similar tools. They sounded easier, but they kept pushing me into workflows that I did not enjoy. After a while, the whole process started driving me crazy.
I eventually moved to a Photoshop plugin to automate the repetitive part. It was closer to what I needed, but paying for an Adobe license and a monthly plugin subscription felt excessive for my small business. I did not want my mockup workflow to become another stack of fixed monthly costs.
That was when I started looking for a way to move the useful part of Photoshop plugin functionality to the web. I wanted to upload designs, choose mockups, and let the batch run in a browser without opening Photoshop for every single image.
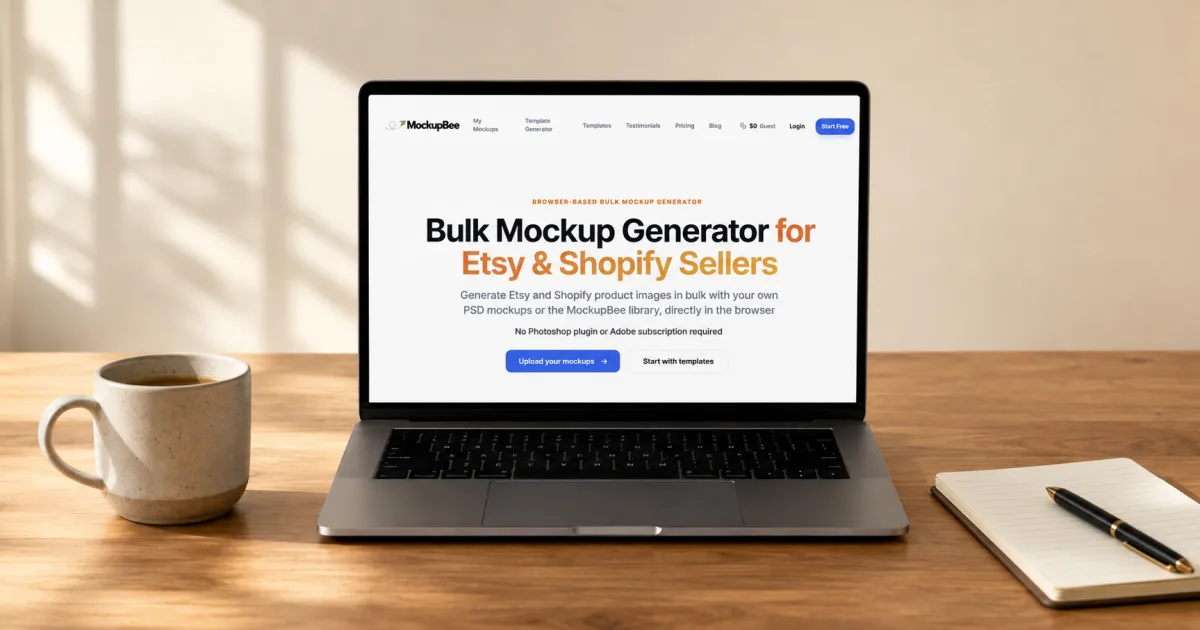
In the end, a colleague and I decided to build the tool ourselves. What started as a solution for my own Etsy shop became MockupBee.
Most products needed 8–10 mockups before I was comfortable publishing the listing. I wanted a clean hero image, a room scene, a close-up, a couple of variations, and enough images for the buyer to understand what they were looking at. One product was manageable. A growing catalog was a different story.
With 100 products, 8–10 mockups each meant 800–1000 product images. The work was not creative anymore. It was opening files, replacing Smart Objects, exporting, renaming, and doing it again.
The Etsy mockup problem is repetition
The usual workflow looks simple on paper:
- Open a PSD mockup in Photoshop
- Replace the Smart Object with your design
- Save or export the image
- Repeat the process for the next mockup
- Repeat everything again for the next design
The problem is the last two steps. When a new collection has 20 or 50 designs, a one-at-a-time process becomes the bottleneck for the entire Etsy launch. I was spending time preparing listing images instead of improving the shop, researching products, or creating the next collection.
What you need before creating mockups in bulk
You do not need a complicated setup. Before starting, have these three things ready:
- Your design files exported as JPG, PNG, or WEBP
- The mockups you want to use, either your own PSD files or a template library
- A rough plan for the image set each Etsy listing needs
The last item matters more than it sounds. If you choose random mockups as you go, the final shop can feel inconsistent. I usually decide on a small set of scenes first and reuse them across a collection.
How to create Etsy mockups in bulk step by step
1. Create a product batch
Put the designs you want to use in one folder. This can be a new Etsy collection, a product launch, or a group of related designs. You can upload up to 50 designs in one batch.
2. Upload the batch
Open MockupBee and upload the batch. You do not need to upload each design separately.
3. Choose your mockups
There are two ways to choose mockups:
- Use the Template Generator to choose templates from the MockupBee library
- Use My Mockups to upload and use your own PSD mockups
Choose the mockups you want to use for the batch. You can select up to 20 templates.
4. Click Generate Mockups
When the designs and mockups are selected, click Generate Mockups.
5. Wait for the results
Fifty designs on 20 templates creates 1000 results. Waiting for all 1000 results takes about one hour. A smaller batch of 100 results usually takes a few minutes.
That is still hundreds of times faster than creating the same images manually in Placeit or similar tools. You start the job once and let it run instead of repeating the same work for every design.
6. Download the files
Download the results as a ZIP file. Unzip it and you will have a folder with all of your generated mockups, ready to review or upload to Etsy.
7. Upload the images to Etsy
Open your Etsy listing and upload the generated images. Put the strongest image first, then add the other images in the order you want buyers to see them.
What changed for me as an Etsy seller
The biggest change was not just speed. It was that I could make more deliberate product decisions because mockup creation was no longer hanging over every new design.
Before, I would sometimes postpone a listing because I knew the mockups would take the rest of the afternoon. That creates a strange kind of friction: the product is ready, but it is not publishable yet. Once the repetitive part became a batch job, launching a collection felt much more realistic.
That experience is why I built MockupBee’s bulk mockup generator. It is designed for the part of the Etsy POD workflow that happens after the design is finished and before the listing is ready.
The practical takeaway
If you only need one mockup for one product, manual editing may be fine. Once every design needs several listing images, the workflow should be treated as a batch process.
Prepare the files, choose a consistent mockup set, generate the batch, review the results, and then publish the strongest images to Etsy. That is the process I wish I had started with when my catalog was smaller.
If you want to see the workflow, visit the Etsy mockup generator page or start creating mockups with free guest credits.